
CONTENTS
Countertops are a major focus of kitchen remodels, since changing the color and design of the countertops can completely alter a kitchen’s feel. Quartz countertops bring elegance into a kitchen with gorgeous focal points of natural variegated patterns. Some people choose the quartz aesthetic because its patterns feel more versatile and less busy than more popular granite countertops. This helps to emphasize the grain of wood cabinets or the design of a modern faucet. However, stone countertops, while on trend and beautiful, quartz counters be very expensive, costing thousands of dollars for materials and installation.
In response, many creative DIYers have decided that they want the look of quartz countertops but don’t need a full countertop replacement. One of the best methods to achieve this is to paint it yourself. While this method takes a creative eye, patience, and a little bit of elbow grease, it costs about $100 to get all the materials to make your countertops look like natural quartz.
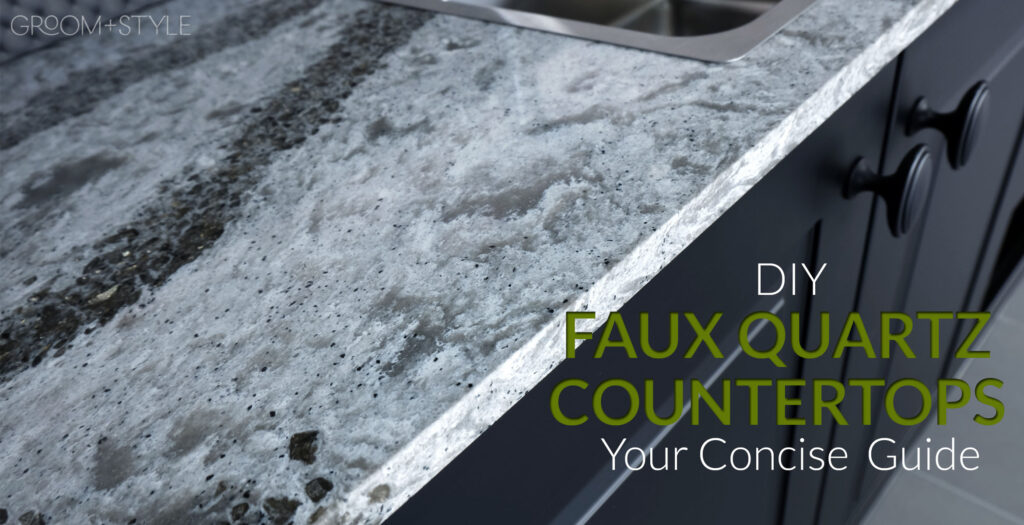
To help you along the process and for the most realistic effect, use a reference. Ideally, this would be a sample bit of quartz counter, but a detailed photo would also work. The reference will help you keep your color palette limited to look like real quartz. During painting, you will refer to this reference many times to get the look that you desire.
Gather Your Materials
Choose a Kit
You can get the right materials in two ways. Pricey kits ($80) are available at your local home improvement store for countertop painting. These are good choices for someone who is uncomfortable picking their own colors or who doesn’t want the hassle of gathering a handful of different materials. Countertop refinishing kits come in the color palette of your choice, such as a white quartz, black quartz, or sand. Also keep in mind that you can supplement these kits with other colors.
Or Put Together Your Own Materials
For those who like a little more control, you can choose to purchase your own materials:
- A paint roller for smooth surfaces
- Texturing items: an art sponge, crinkled paper towels, or a crinkled plastic bag
- A small paintbrush
- A primer paint for preparing your current countertop that matches your new color palette
- Acrylic paints
- Metallic acrylic paints
- Metallic flakes and/or fine powder craft glitter, depending on how much sheen and shine you want
- Water-based polyurethane (we recommend Minwax Polycrylic) for sealing

Additional Items for Painting Day
Whether you go with the kit or gather your own materials, you’ll also want to pick up:
- Plastic drop cloths to cover surfaces where you don’t want paint, including the floor
- Painter’s tape
- Rags
- Medium grit and fine grit sandpaper
The Method
Note: Once you get your colors and metallic flakes sorted out, we recommend you practice painting on a piece of scrap wood or other surface. This will save you a lot of trouble and materials if you decide that you want a different balance of colors or want to try a different way to texture the paint.
Preparation
- Clear off your countertop and scrub them thoroughly. Once they are a clean smooth surface, rinse them multiple times, so that any remnants from your cleaning supplies won’t keep the paint from adhering. Allow them to thoroughly dry.
- Prep your area by masking surface with painter’s tape and plastic drop cloths. Don’t forget to use tape to protect your sink and backsplash. Also be sure to cover appliances, such as your stove and fridge. The more you protect your space, the more comfortable you’ll feel experimenting and and painting.
- Using the roller, paint the counters with your primer. Try to keep your layers thin and even by allowing them to dry entirely in between each layer. Make sure to also get the corners and any tight spots with a brush.
- Allow your primer to dry for at least six hours or overnight.
Begin Painting with your Mineral-Style Paints
- Begin by sponging on white. To be as realistic as possible, sponge it on randomly. Try not to use a predictable pattern. but instead scatter it all over until you have a textured white base.
- For the next layer, use an acrylic color that is similar to what you chose for your primer. Using a sponge or paper towel, layer the darker acrylic all over your counter. At the end of this layer, you’ll only want a small amount of the white to be showing randomly.
- Begin building your other colors in layers without adding too many.
- Once you have built up your layers of colors, go back and lightly sponge your dark base color to give the surface more depth.
- Apply metal flakes randomly to give your counter more depth and shine. It’s best to use your reference for this to keep your glitter looking natural.
- Allow the surface to dry completely.
- Use a fine grit sandpaper to buff and level your paints. This will also help them blend more naturally. Start buffing in a small, out of the way area to make sure you’re getting the effect you want. Clear away any dust that comes off the counter.
- Apply your top coat. Try to make each layer even and without streaks. Using a roller to do this, be sure to work quickly. Rolling back over the same spots too much will give it too much texture, so try to roll and move on.
- Allow the coat to dry entirely, then use the medium grit sandpaper to level out your polycrylic coat. Use a brush or rag to clear away any dust that might have come up with sanding.
- Apply additional polycrylic coats until you have at least three coats.
- Allow your counters to dry for at least a day (24 hours). Then remove your drop-cloths and painter’s tape, being careful not to pull off your finish. Clean up the area.
It will take a few weeks before your counters are fully cured and protected. Until that time, you’ll need to be extra careful to protect them. This include making sure to wipe up any spills immediately, even water.
Project Tips
- The trick to a realistic look it to build your paint up in layers. This will give your countertops the appearance of depth. Try not to rush and add your details all in one layer. If you think one color is becoming too dominant, allow yourself a layer of another color to balance it out. This is particularly important with adding details to the top coats.
- If your layer of polycrylic is too bumpy or has too many bubbles, you can sand it off and try again.
- Keep in mind that if your finish starts to wear down over the months, you can use the polycrylic again to refinish the counters.
- For the best effect, don’t try to rush your process. It will help to set up an alternative kitchen space that you can use for the days that you are painting, so that you don’t feel like you need to cut corners and save time.
- To keep your counters in the best shape, use a mild cleaner.
- While your counters look like quartz, they will not have the same durability and heat resistance as quartz. Even after the finish has cured, it’s best to treat them relatively gently and always use potholders when placing hot pots and pans onto them.
- Never directly cut onto the counters.
Using paint, a quartz reference, and your own creativity you can enjoy the beauty of quartz countertops, done your way, without the cost of installing stone countertops.
Have you tried countertop painting? Let us know how it went for you in the comments!