
CONTENTS
Building a Deck with Style: Innovative Ideas and Practical How-Tos
If you’ve ever dreamed of transforming your backyard into an outdoor oasis, then you’re in the right place. A deck can serve as the perfect extension of your living space, providing a serene spot for relaxation, an inviting area for social gatherings, or even a playground for your kids.
But building a deck is not just about slapping together some planks of wood. It involves careful planning, innovative designs, and meticulous execution so that it can last decades.
Ahead, we will dive into the DIY steps to build your own deck. So let’s roll up our sleeves and start building a deck with style!
Decking Materials
The choice of decking material should consider factors such as budget, aesthetics, local climate, and maintenance willingness.
Common material choices for deck boards include:
- Pressure-treated wood
- Natural woods, like cedar and redwood
- Composite decking
- PVC or vinyl decking
- Aluminum decking
Pressure-treated wood is popular for its affordability and availability, but it needs regular maintenance. On the other hand, natural woods offer a beautiful look but can be pricey.
Composite decking, made from wood fibers and plastic, is durable and low-maintenance but more costly initially.
Conversely, PVC decking is lightweight and requires minimal upkeep, while aluminum decking is extremely durable and weather-resistant, but both may not provide the desired natural look.
Step for Building a Deck
Attach the Ledger
The first step in building a deck is attaching the ledger, a board that serves as the main support for one side of the deck.
First, decide the height of your deck and mark this on your house’s wall. Prepare the ledger by cutting a piece of pressure-treated lumber to the required length and drilling holes for the lag screws. Install waterproof flashing above and behind the ledger to prevent water damage.
Finally, position the ledger against the house, aligning it with your marks, and secure it with lag screws into the house’s rim joist. Ensure the ledger is firmly attached, as it bears significant weight.
Protect the Ledger
The next step is to protect the ledger, primarily using flashing, to prevent water damage and maintain structural integrity.
Cut a strip of metal or vinyl flashing to cover the length of the ledger. Bend it to fit over the ledger’s top edge and against the house, securing it with roofing nails.
Apply exterior-grade sealant along the top edge of the flashing where it meets the house to prevent water seepage. Ensure the flashing directs water away from the house and onto the deck surface.
Set Footings and Piers
Mark the locations for your footings based on your deck plan and dig holes to the required depth and width.
Pour concrete into each hole, place a concrete form tube, and cut it level with the surface. After the concrete has cured, set the (metal or concrete) piers on the footings, ensuring they are level and aligned accurately as they will support the deck’s frame.
It’s crucial to use a spirit level to confirm each pier is perfectly vertical and a straight edge to ensure the tops of the piers are level with each other.
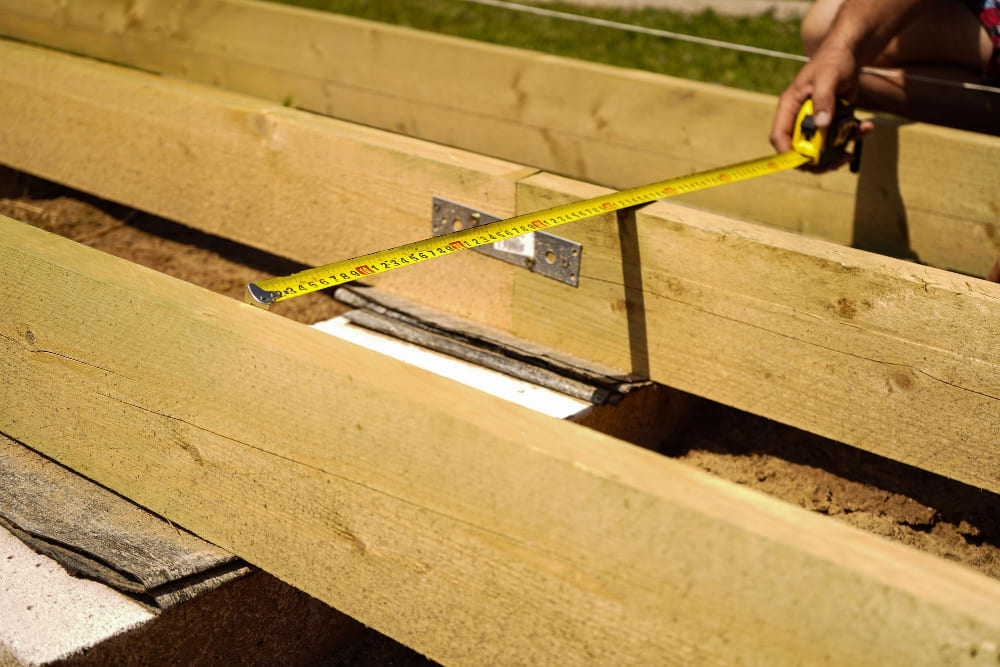
Install Post Bases and Side Rim Joists
The next step is installing post bases and side rim joists. Begin by attaching the post bases to the piers using suitable hardware, ensuring they align with your deck layout. Insert posts into these bases, checking they’re vertical with a spirit level, and secure them.
Next, attach the side rim joists, which are the outermost joists on each side of the deck, to the posts using joist hangers or framing anchors. These deck joists must be level and square for a flat deck surface and straight edges.
Throughout this process, continuously check for alignment, level, and squareness to facilitate smoother subsequent steps.
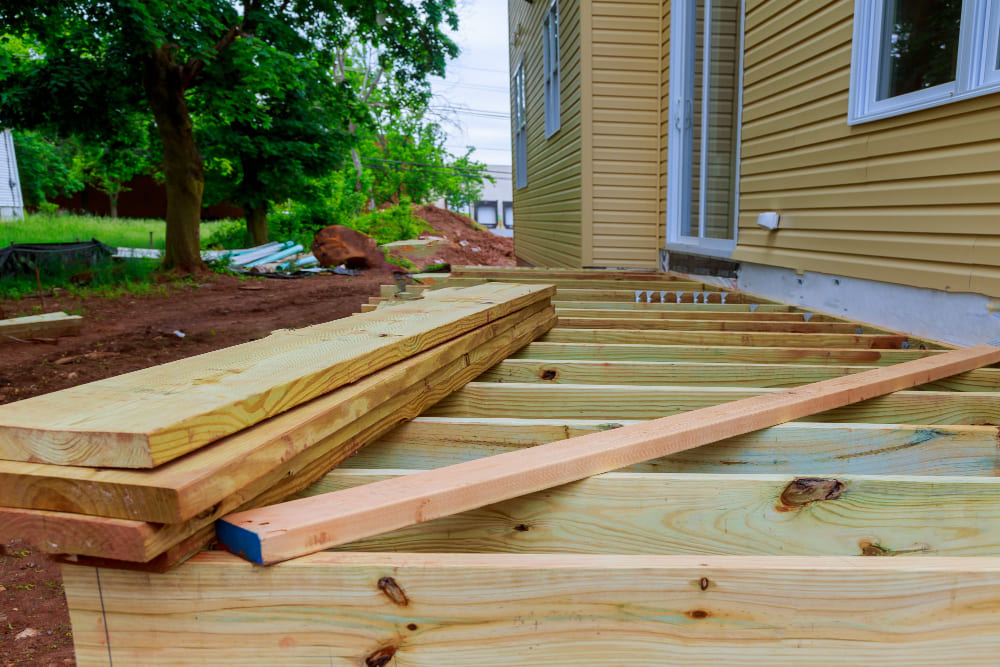
Install Front Rim Joists, Beams, and Interior Joists
Once the post bases and side rim joists are set, the next step is installing front rim joists, beams, and interior joists.
Begin by attaching the front rim joist to the outer faces of the posts to form the front edge of the deck, ensuring its level. Next, construct the beams from two or more lumber pieces, and secure them on top of the posts parallel to the rim joists, making sure they’re level and straight.
Finally, install the interior joists, which form the main support for your deck surface. They should be attached at regular intervals to the beams and rim joists using joist hangers or similar hardware.
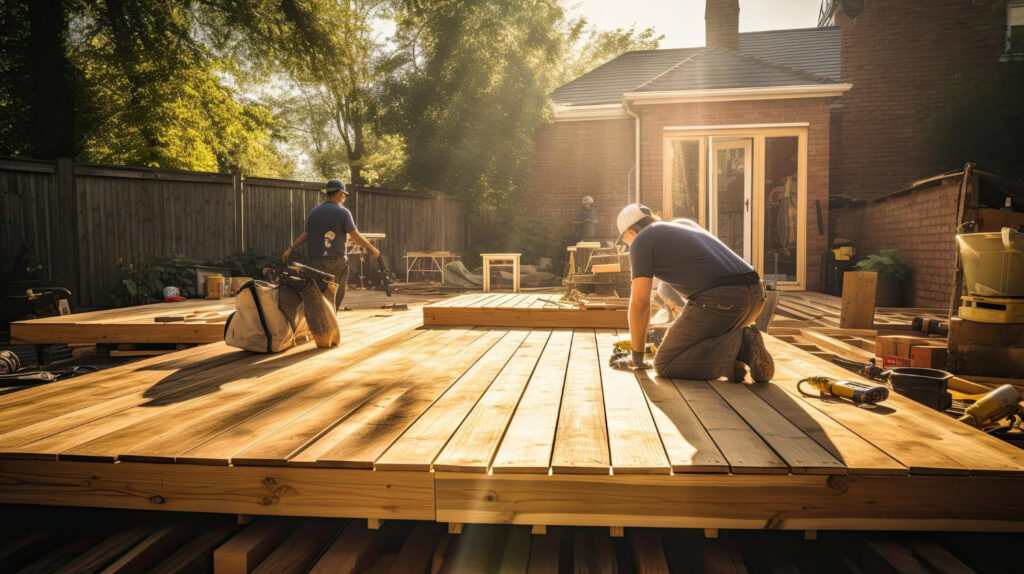
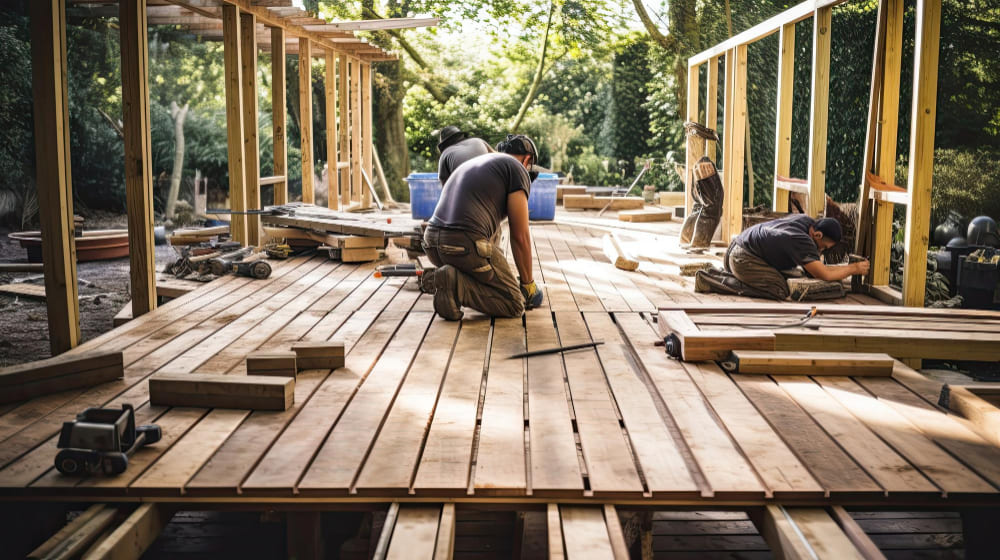
Attach Trim and Decking

The final step in deck construction involves attaching the trim and decking. The trim, which covers any exposed ends of rim joists or decking boards, is attached to the deck’s outer edge for a finished look. You can use matching or contrasting material as per your design preference.
Next, lay the decking boards perpendicular to the joists, starting from one end and moving across. Ensure each board is straight and secure before proceeding to the next, leaving a small gap for water drainage and wood expansion.
Frequently Asked Questions
Is it cheaper to build your own deck?
Yes, it is generally cheaper to build your own deck. The average cost of constructing a deck yourself can range between $8-$10 per square foot using the most basic lumber. It could save approximately 65% of the total cost compared to hiring a decking company.
How far apart should posts be when building a deck?
Deck posts are typically spaced between 6 to 8 feet apart. This ensures the deck has proper support and stability.
What is the best footing for a deck?
Concrete deck footings are typically the best for deck foundations due to their strength and durability. They come in two types: poured concrete footings and concrete block footings.
Conclusion
In conclusion, building a deck is not just about adding an outdoor space to your home. It’s an opportunity to create a unique area for relaxation and entertainment and increase the value of your property.
Whether you’re going for a minimalist design or a luxurious outdoor living room, always prioritize quality construction and adherence to local building codes. Don’t hesitate to consult professionals or seek expert advice when needed.
Ultimately, your deck should be a place where you can enjoy your house garden comfortably with loved ones. So, put thought into its design and construction and build it to last using the guide provided above. Happy decking!